

How To Improve Your 3D Workflow: 5 Tips From An Escape Studios Tutor
Making good 3d animation isn’t just a case of mastering the right 3d software package. While knowing your way around Maya or Blender will help, creating a believable and watchable animated story is about so much more than technical skill.
A lot of the groundwork for creating a great work of 3d animation takes place away from the software, and even away from your screen. Amedeo Beretta, a professional tv and film animator and Escape Studios tutor, knows this well: he has extensive industry experience, having worked for the likes of DNEG, Scanline VFX, and Ilion Animation Studios on films including Paul, John Carter, and Planet 51.
In his work as an educator at Escape Studios, he aims to follow the school’s mission to ensure that all students leave studio ready. Escape Studios offers undergraduate, postgraduate and short courses, providing an ideal solution if you want to expand your existing skill set or start from scratch. If you’re not sure where to start, download the school’s free Careers Guide to help you find your creative path.
Below, Beretta shares his tips for creating an optimal 3d animation workflow and crafting better stories.
1. Start with a beat list

Beretta: Your first step shouldn’t be to open your 3d software. Why? Because jumping straight into the software will likely mean you get lost in technical issues and animation — so much so that you’ll lose sight of what’s really important: the narrative.
Instead, start by reading the story you’re trying to bring to life and listening to the soundtrack (if there is one). Then write down a beat list. Think of an animation beat as an event that needs to happen on screen before the audience can understand the story.
For example, imagine a shot where a character observes an object until they understand something important about it. In real life, you wouldn’t necessarily see the moment someone understands a concept, but in animation you need to show such processes to help your audience understand your character’s inner life, and to tell your story effectively.
2. Sketch your poses

Beretta: Once you’ve got an idea of the narrative beats of your story, you can think more about how your character will be posed in each beat. Posing in 3d is very time-consuming, so sketching out your poses on paper or in a digital art program is a much quicker way to plan your animation. It doesn’t have to be beautiful — a few stick-men can work just as well as something carefully crafted.
Why is this stage so important? Imagine the story of a character hammering a nail into a wall. You will need at least two poses to make that work: one with the character holding the nail in one hand and the hammer in the other, aiming the hammer at the nail; and another with the nail in the wall and the character holding the hammer on top of it. You can’t tell the story of the hammering without at least these two poses; yet with just these two, the story works.
Sketching out these two poses takes just a few seconds, and once you have them, you can assess whether you need any further poses. If you were trying to figure all this out with models in your 3d software, you’d probably end up bogged down in technicalities and would likely lose sight of what you were trying to convey.
3. Do your research

Beretta: At this point, you are probably desperate to jump straight into your software and start animating, but you will thank yourself later if you hold off a little longer and do some research.
Let’s take the nail-and-hammer example again. In this case, your research might involve finding pictures of people hammering nails to watch how the process works. You could find footage, or even film yourself doing it. Filming yourself doing an action such as this doesn’t take long. Just do it several times, then cut and edit the video together until you’re satisfied. Once you have a filmed sequence that works and delivers the story, you’ll know for sure you have a good base to start your animation from.
At this stage, you know your story, you’ve outlined the necessary beats for your audience to understand it, you’ve got an idea of which poses can deliver such beats, and you’ve got a visual representation of the story through video and sketches. You can now move on to the next stage and (finally) open your 3d software.
4. Block out your key poses
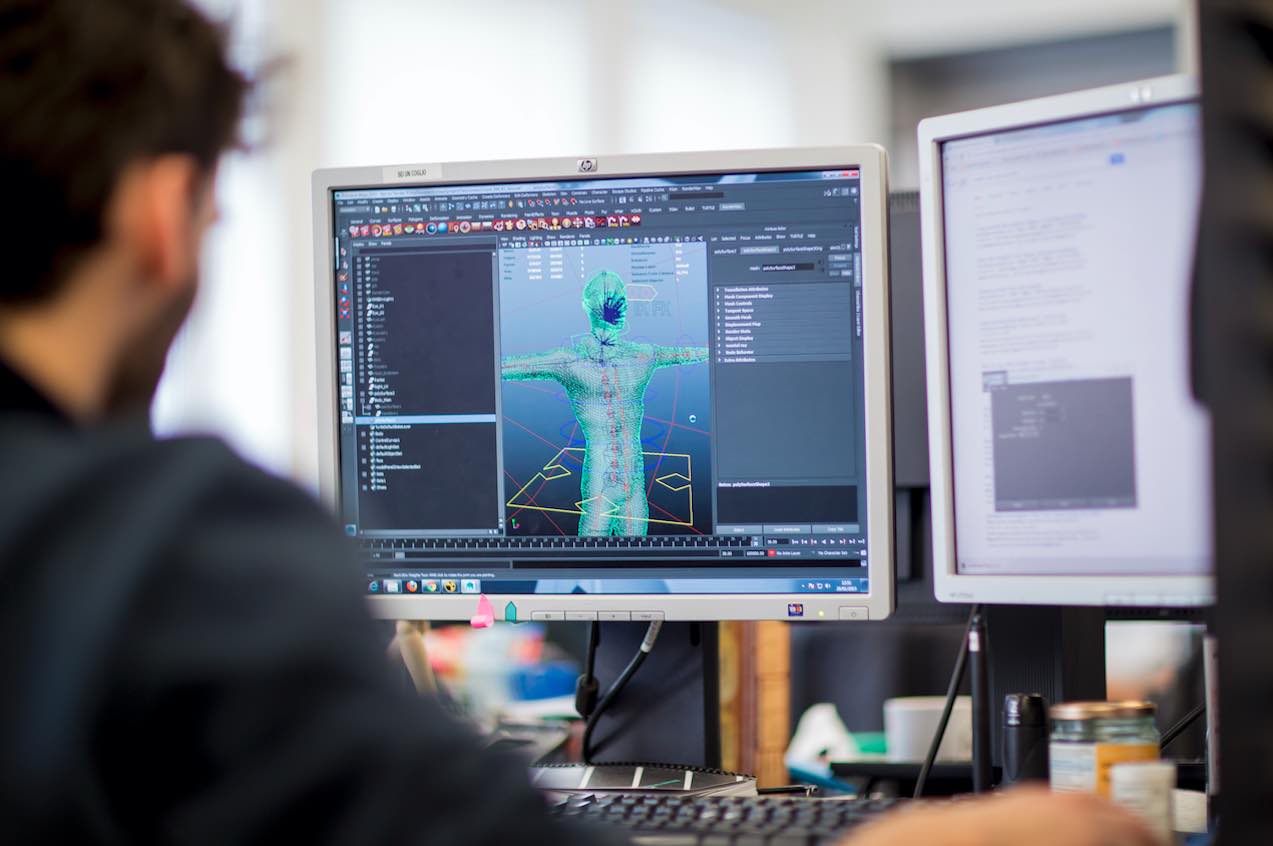
Beretta: You’re now ready to start blocking out poses in your 3d software, but first, look back at your video reference and identify within it the key poses you defined in step two. Then you can start to flesh out your animation by blocking out these key poses. Start from the two most extreme poses in any action, and make sure that you give priority to the poses that you couldn’t tell the story without.
Once you’ve got your poses, make sure they work in 3d space. This will help you later when you’re splining and troubleshooting issues. Plus, while it’s true that the animation has to work in camera, posing a character that is anatomically coherent — at least at the blocking stage — usually makes for more believable poses and motion.
5. Watch your animation upside down
Beretta: Spotting issues in your own work can be really tricky, especially when you’ve spent hours and hours working on something. If something isn’t working as well as you had hoped, it can be tempting to spend time tweaking minute details. These details probably carry no significance to the outcome of the scene, so your tweaking is unlikely to help. Even if you’re relatively happy with your scene, it can still be hard for you to spot issues in it, because your brain will try and create order out of what it sees on the screen.
Instead, try tricking (or “outsmarting”) your brain by watching your animation upside down. To do this, download a video player that can flip the video for you both horizontally and vertically (like DJV). You might be surprised by what you pick up when watching your animation in this way.
If you’d like to pursue a career in animation, game art, or vfx, but aren’t sure where to start, education provider Escape Studios’ free Careers Guide can help you find your niche.
