
CASE STUDY: Why DitoGear’s Animator Cube Should Be An Essential Part Of Your Stop-Motion Toolkit
DitoGear is a company founded by filmmakers and enthusiasts of cinematography, and for the last eight years, they have been developing motion control kits for a wide variety of applications, including tools that are essential for filmmakers working in stop-motion animation, live-action filming, time-lapse, and slow-motion photography.
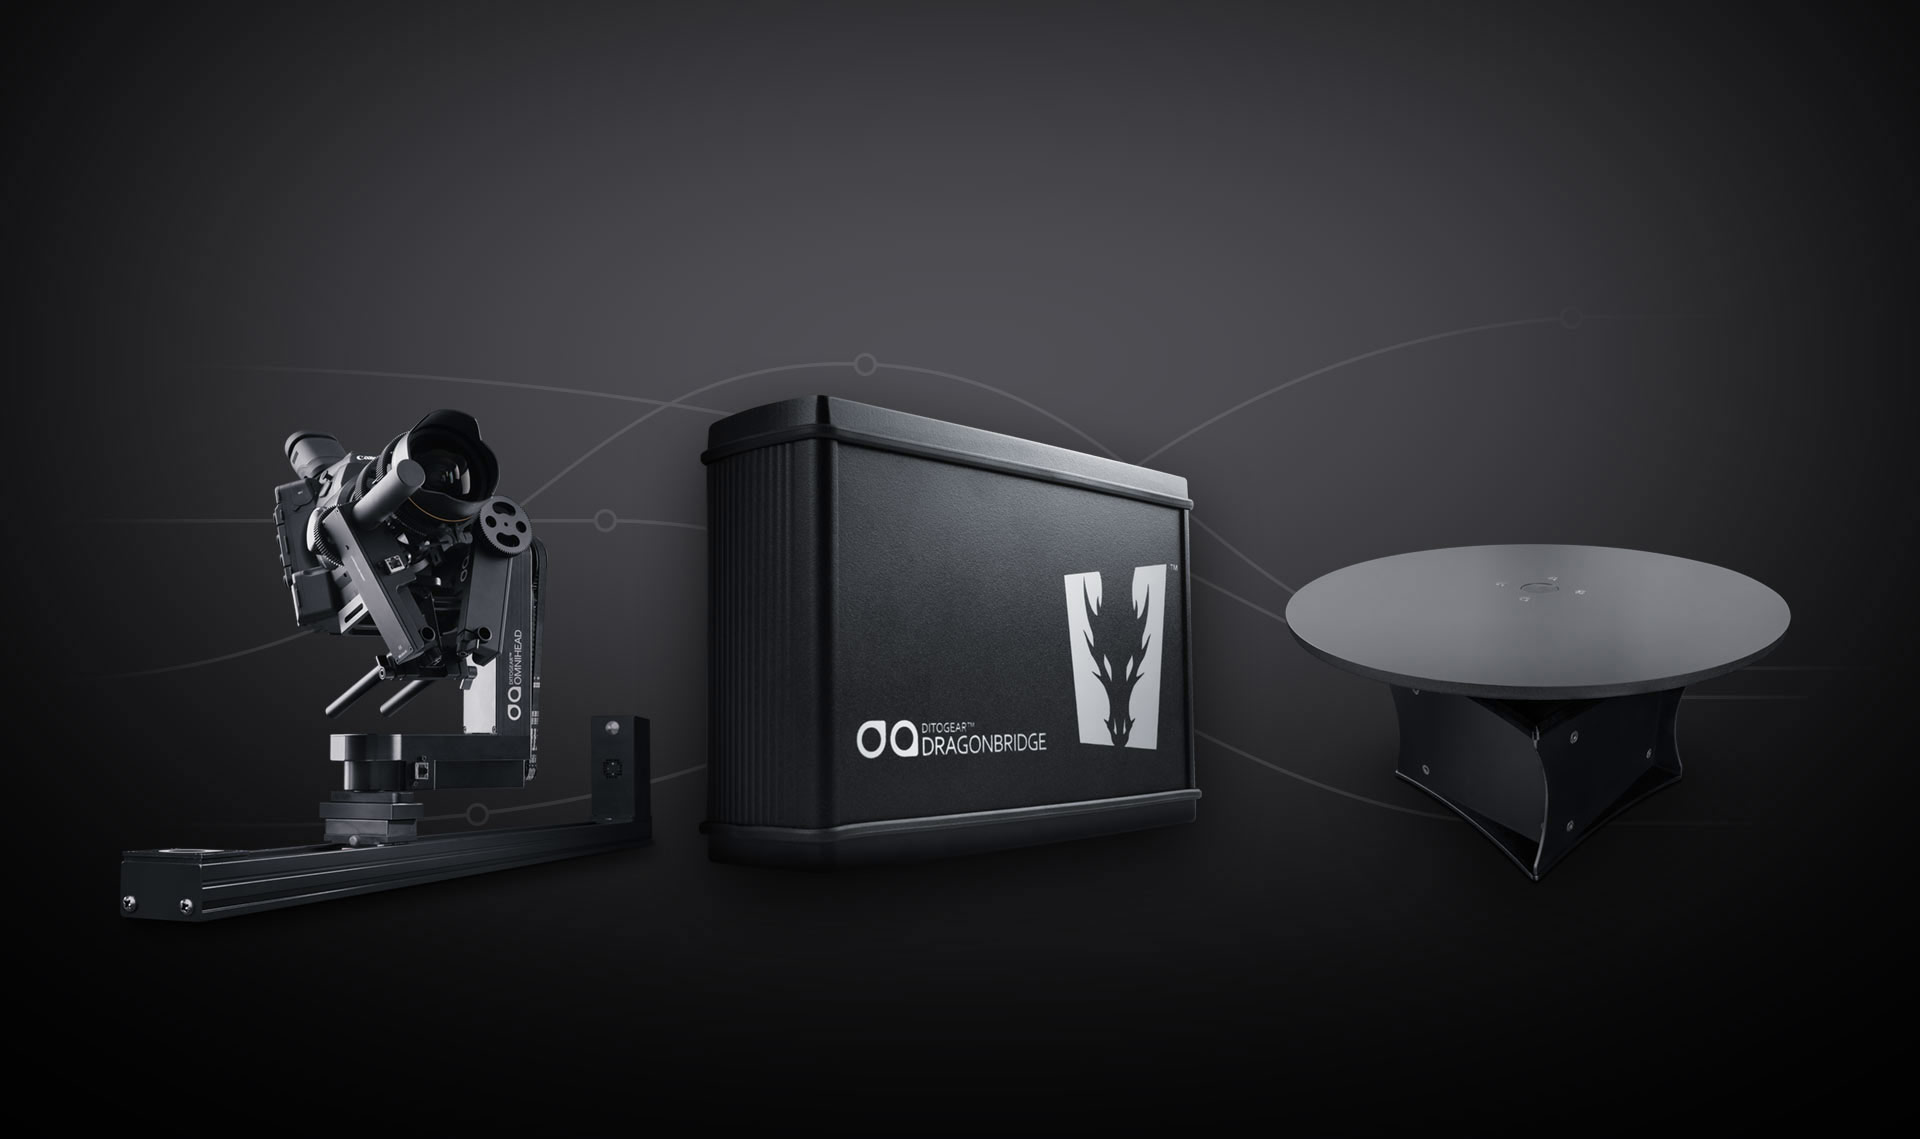
The company has created an essential suite of tools for animators, from simple single-axis solutions like sliders for stop motion, which can be extended by adding a pan/tilt head to tools that allow for sophisticated shot set-ups like focus and zoom controllers and additional arms, all the way to its most advanced kit – Animator Cube.

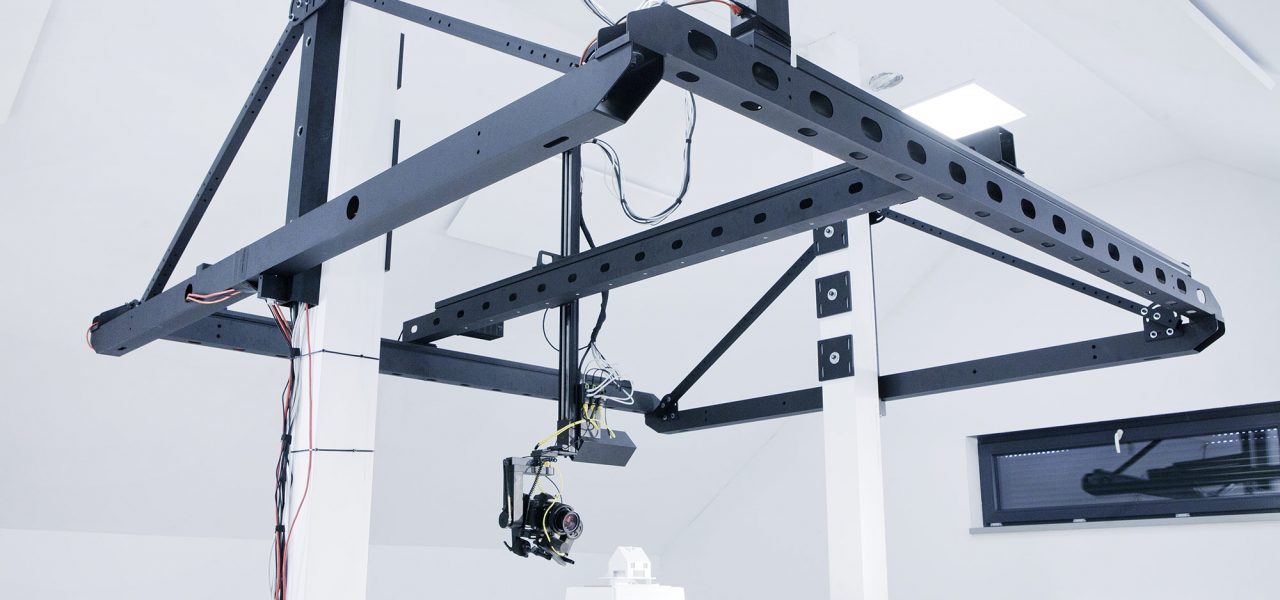
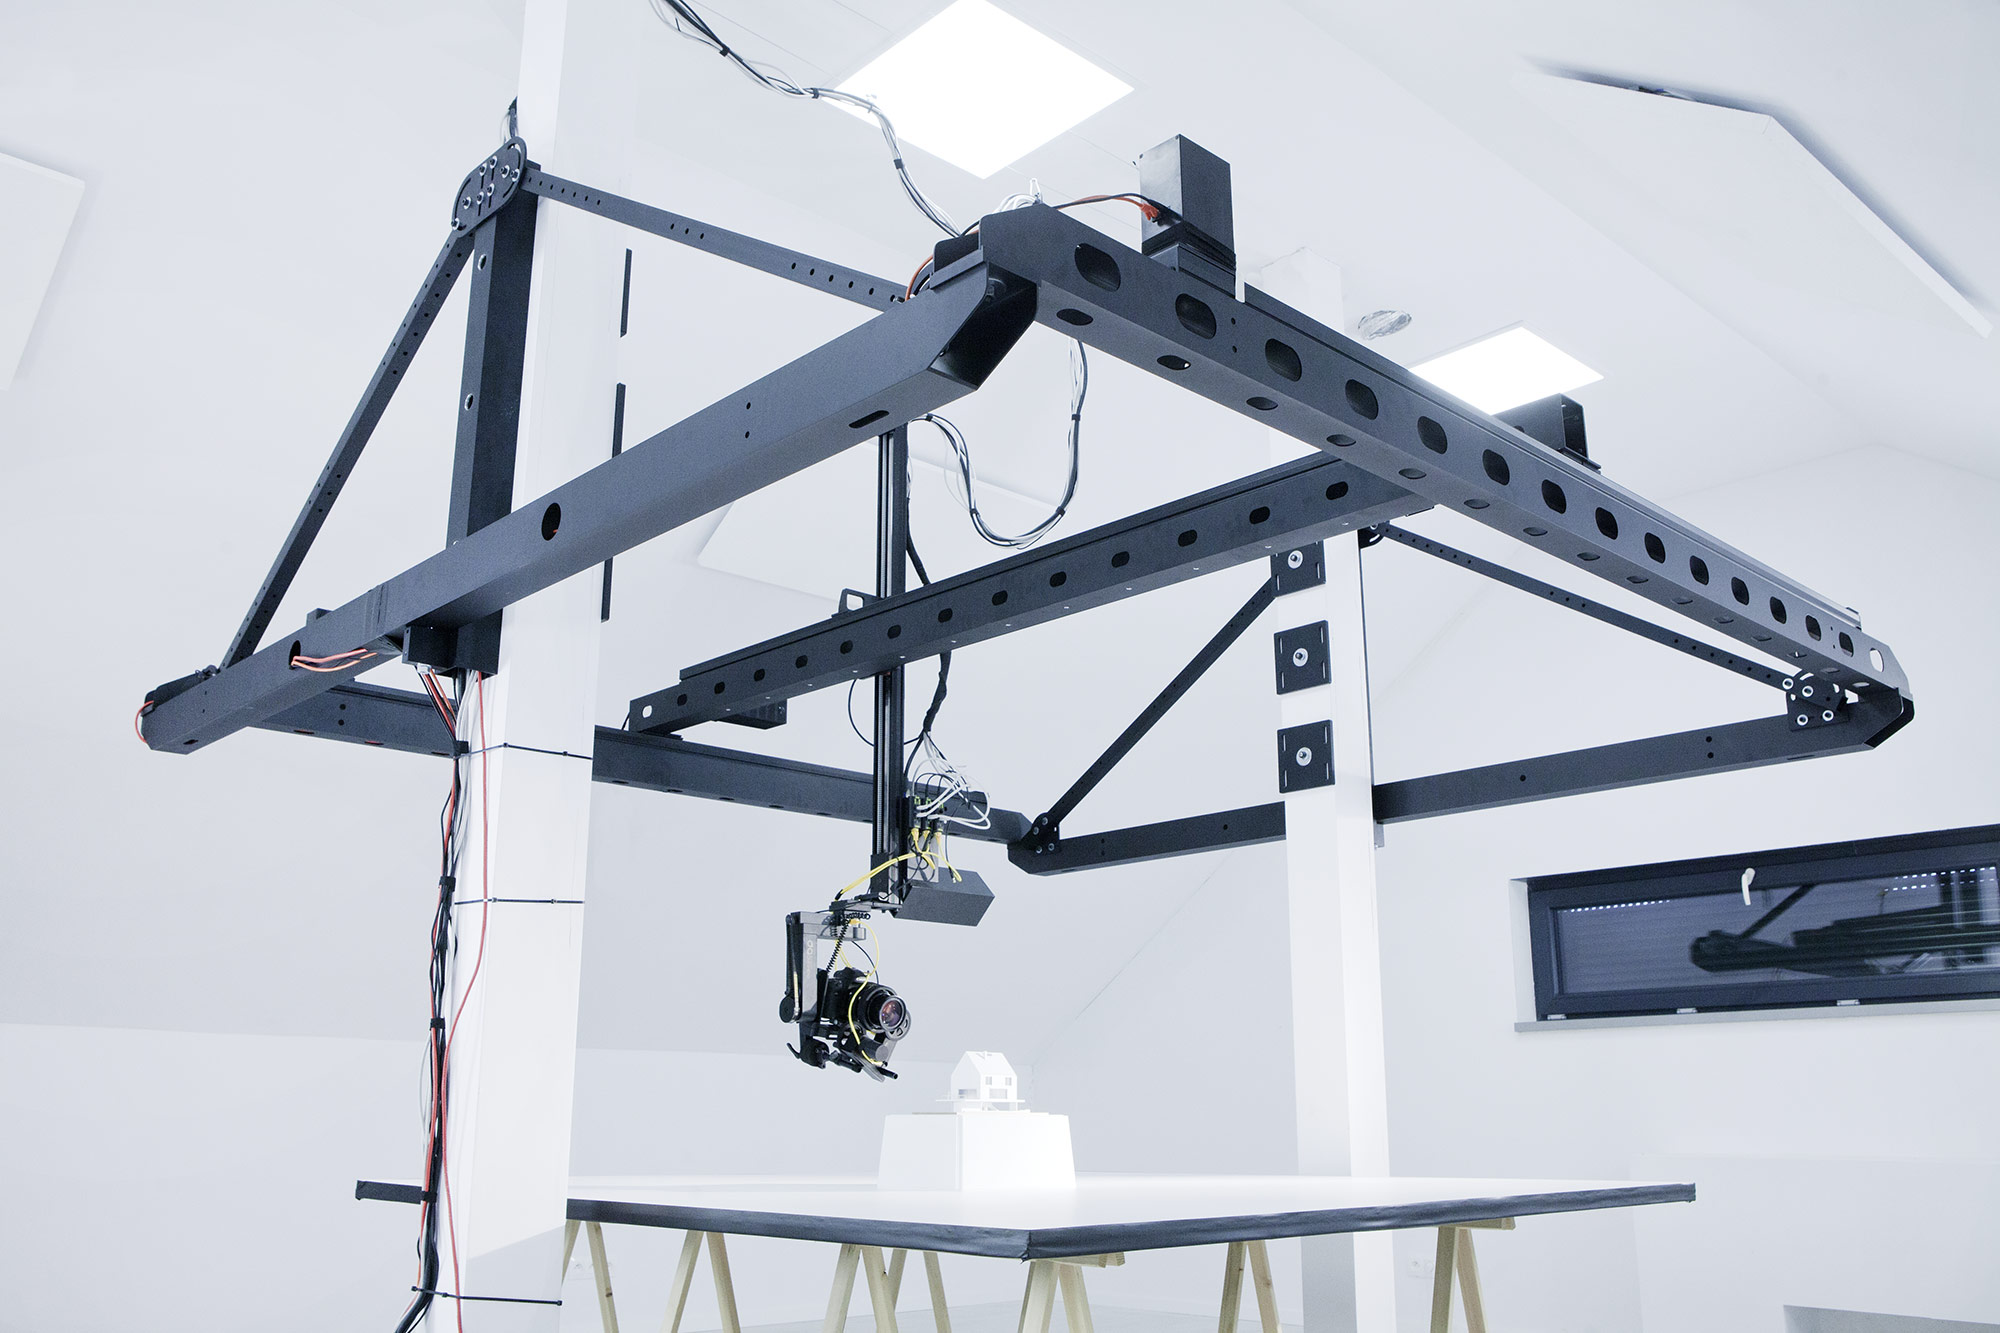
Animator Cube is a multi-axis cage for stop-motion animation and visual effects. Combining it with Dragonframe DMC-16 and Dragonframe software, it lets you program camera moves with almost no limitations within the cage boundaries.

To understand how the Animator Cube works, we’re presenting a real-world case study from Polish director – and dedicated DitoGear user – Maciej Siemieniuch of timeshift.pl, who created an animated video using Animator Cube. It’s a fascinating look at what can be achieved with DitoGear’s gear, and why any stop-motion artist would do well to consider making DitoGear’s tech part of their stop-motion set-up. (The company is currently offering 25% off all of its products on its website through September 30.) Here’s Maciej:
My name is Maciej Siemieniuch and I am a big time-lapse enthusiast. For the last seven years I have been working mainly on DitoGear equipment using different setups – from the simplest, one-axis through the setups with pan and tilt head, up to the most complicated ones with two heads and additional arm – MiniJib. Lately, I have shifted my interest to stop-motion animation and I discovered how easy it is with DitoGear and their Animator Cube.
Why Animator Cube?
When I was asked some time ago to make a three-minute stop-motion video which would promote a Youtube channel, I knew where I had to go to fulfill this task in a way that would satisfy my clients and me. The team from DitoGear was very helpful – they let me work on one of the most advanced kits for stop motion – Animator Cube.
Setting up
With Animator Cube you can work on 16 axes simultaneously. I worked on the basic setup: two horizontal axes and one vertical axis with pan/tilt head. The setup was enriched with LensDrives to control zoom and focus of my camera – the Canon 5Dmk3. All of these seven axes were controlled with Master Controller DMC-16 from Dragonframe – a system which is based on the curve modeling mechanics.
Planning the shots
What I had to do, basically, was to animate the story presented on the box of the Lego City Kit. The Lego kit was quite extensive and there was quite a number of vehicles to use in the story, so the shooting plan was substantial in size, too. That was why Animator Cube seemed like the perfect solution to create this animation. The side dimensions of the cube are 8.2 feet for the horizontal x- and y-axis. The vertical axis, which is 3.2 feet, let me plan complicated shots with the camera over the moving objects. I was able to make the shots from the bottom to the top with the camera that was below the animation table, as well.
The biggest surprise was…
At first, I didn’t plan to make any complicated shots or effects, but after a few hours of working I was amazed to see that Animator Cube could do much more than I had expected. The smoothness of movements and the speed of the axes gave me an opportunity to use my imagination according to the saying, “The sky is the limit”. So, I changed the script and made it more complicated. First of all, I decided to create several longer master-shots, instead of the scenes with two-three cuts, just like it was made in the famous movie Birdman. Longer shots gave the video the needed dynamics. I thought it would keep viewers engaged in the story more. Check the result below.
Master shots
Furthermore, I also discovered that I could have a natural and smooth speed-ramping effect thanks to the possibility of modeling the curves and planning accelerations and slowdowns of camera movement. Look how it turned out:
Speed ramping
That’s not all. I was able to do even more than that: having the control over the forward and backward camera movement, as well as the control over zoom and focus, I could easily match the three axes and achieve Hitchcock’s Dolly Zoom effect.
Dolly zoom
One of the most challenging tasks was to film jumping Lego figure and to track its way through the whole jump in a close-up shot. As it turned out, I managed to make the appropriate framing and adjust the sharpness controlling zoom and focus all the way through the shot. What is more important, I was able to do it in the very first attempt in a relatively short amount of time. Tweaking the whole setup while planning this shot was like a dream! Take a look how it turned out:
Character jumping
My adventure with Animator Cube was extremely pleasant. The control over the seven axes was fast and intuitive. Together with the Dragonframe controller and software, I had the opportunity to work on a practically perfect set. It gave me enormous opportunities to keep the history going in a creative way, without having to change the scene arrangement and multiply the cuts.
My recommendations
When you have Animator Cube in your studio, you can create very complicated camera movements on a big set with the constant focus and zoom control. You are able to control the movement of the camera on an ongoing basis. Modify movement, if necessary, shorten or extend individual parts by holding the filmed object in any place of your choice. With just a few mouse clicks, you can create shots with a level of complexity comparable to the ones previously seen only in Hollywood productions.
It seems that we are reaching the point where the equipment ceases to limit us, and the only limitation is our mind and imagination. At last, technical issues can be put away and directors and animators can focus first on creating a story and then on animating it appropriately.
There is finally a high potential for creative history with the use of until now inaccessible techniques as vertigo or “frozen time” shots popularized in The Matrix.
There is also a way to plan the lighting control system that synchronizes with the action when using the DitoGear system together with the Dragonframe application. Do you have an appetite for creating an animated Birdman? Or maybe Matrix? With the Ditogear Animator Cube system, you have the tools to achieve those effects.
